
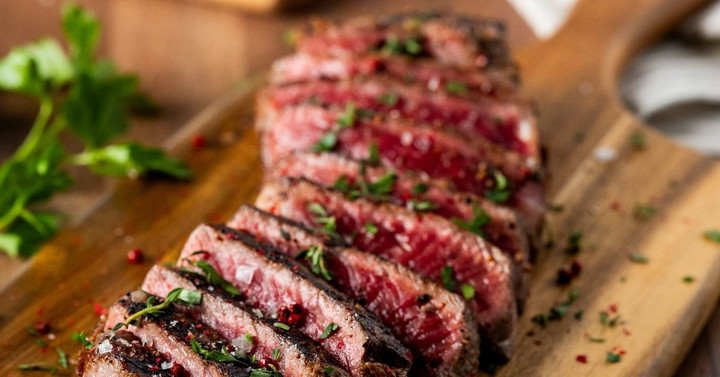
A New York strip doesn't need much to feel special. Use a hot cast-iron skillet and give it enough time to build that deep, golden crust, and you can achieve steakhouse-quality results without leaving your kitchen.
Cooking the perfect strip steak in a cast-iron skillet is about trusting the process. Once you understand how the pan holds heat and how the steak responds to it, dinner starts to feel less like guesswork and more like something you can repeat on casual weeknights without stress.
Choosing Your Cut and Prepping the Steak
A great sear starts before the skillet hits the burner. It begins with a strip steak that has enough marbling to stay flavorful and enough thickness to handle high heat without drying out. Whether you ordered it from The Linz Shop or pulled it out of your freezer, the cut you choose shapes everything that happens in the pan.
Why the New York Strip Is Ideal for the Skillet
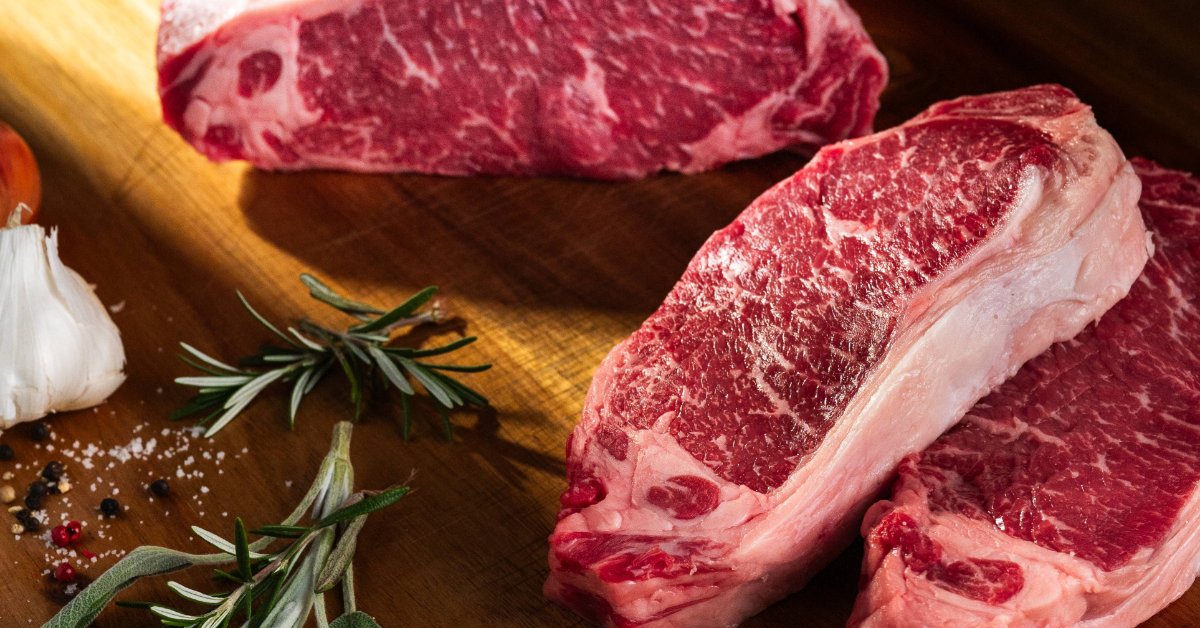
A New York Strip gives you enough thickness to develop a deep, even crust while keeping the interior tender and pink. The muscle structure of the strip runs in long, consistent fibers, so it slices cleanly and chews easily once it hits your plate. Look for a steak with visible marbling running through the meat rather than sitting only on the edge. That marbling melts as the steak cooks, basting the interior.
Before anything touches the pan, pull your steak from the refrigerator and let it sit at room temperature for 30 to 45 minutes. A cold steak hits a hot pan unevenly, and the outside can overcook while the center lags behind.
Pat the surface dry with paper towels. Moisture on the surface steams instead of sears, and you lose that crust you're after. Season the steak generously on both sides, then let it rest long enough for the salt to settle into the surface.
Preparing Your Cast-Iron Skillet
Cast iron works best when you give it time to heat through. Set the skillet over medium-high heat and let it warm for about five minutes before adding the steak. The surface should feel seriously hot but not smoking aggressively. When a few drops of water dance across the pan and disappear almost right away, you’re ready to sear.
The Right Oil for a Proper Sear
Choose an oil with a high smoke point that can handle sustained heat without breaking down or turning bitter. Olive oil and avocado oil both work well here, and either one provides a clean base for the crust without overwhelming the beef's flavor.
Pour in just enough to coat the bottom of the pan in a thin layer. Swirl it around so it spreads evenly, then watch for a faint shimmer across the surface. Once the surface starts to shimmer, you’re ready to start building that crust.
Building the Crust and Finishing the Cook
Place the steak in the pan carefully, angling it away from you to keep hot oil from splattering back. Let it sear undisturbed for three to four minutes, allowing a deep brown crust to form across the bottom. Flip once, using tongs rather than a fork, since piercing the meat lets valuable juices escape.
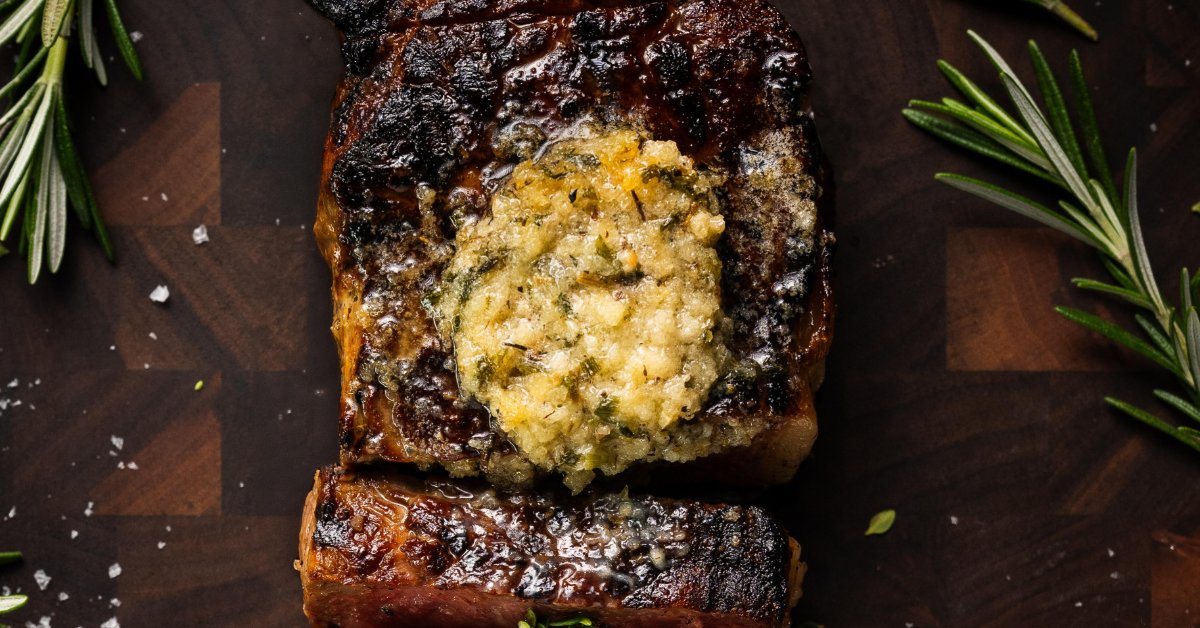
Once you flip the steak, drop a few tablespoons of butter into the pan along with a sprig of rosemary or thyme if you have it on hand. Tilt the skillet slightly and use a large spoon to baste the steak continuously, spooning the melted butter and rendered fat over the top.
This step builds flavor into the crust and keeps the surface glossy and rich. Continue basting for another 3 to 4 minutes, depending on the thickness and your desired level of doneness.
Hitting Your Target Temperature Every Time
A meat thermometer removes all the uncertainty from the cooking process. Insert it into the thickest part of the steak, avoiding any bone or heavy fat pockets, and pull the steak when it reads about five degrees below your target, since the temperature climbs during rest. Here's a quick reference for internal temperatures:
• Rare: 120-125°F
• Medium-rare: 130-135°F
• Medium: 140-145°F
• Medium-well: 150-155°F
Once the steak reaches your target temperature, transfer it to a cutting board or warm plate and let it rest for 5 to 10 minutes. This pause allows the juices to redistribute evenly throughout the meat rather than pooling onto the board the moment you slice into it. It’s a small step, but it helps the steak stay tender from the first slice to the last.
While the steak rests, the flavor is still settling into place. If your strip came from a dry-aged program, this is where that extra depth really starts to show. You may notice a richer, nuttier flavor with subtle earthy notes that set it apart from a fresh-cut steak. That kind of complexity takes time to develop, and you can taste the difference in every bite.
Slice against the grain in strips about half an inch thick. This shortens the muscle fibers, making each bite easier to chew. Finish with a touch of flaky salt, and serve immediately while the steak is still warm and the crust is crisp.
Mastering the Skillet Strip Steak
Cooking the perfect strip steak in a cast-iron skillet shouldn't feel complicated. Start with a well-prepped steak and give the beef enough time to develop a deep, flavorful crust. From there, a little butter and herbs can add richness near the end, but the real key is knowing when to leave the steak alone and when to pull it from the heat.
After you make it a few times, the process starts to feel much more instinctive. You begin to recognize the sound of a strong sear, the smell of butter as it browns in the pan, and the way a steak looks when it is ready to rest. Pair that knowledge with premium Black Angus from The Linz Shop, and a simple steak night becomes a memorable steakhouse experience at home.